Uploading your Work
When you have all your media ready (portrait, video, transcript, text), it’s time to upload it onto the site!
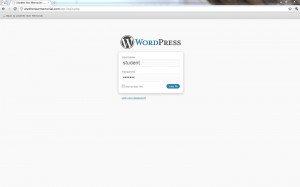
Login to the website: https://anotherwarmemorial.com/wp-login.php
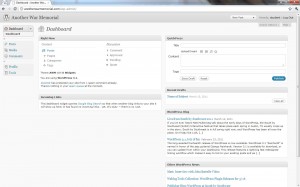
After logging in successfully, you will see the WordPress Dashboard.
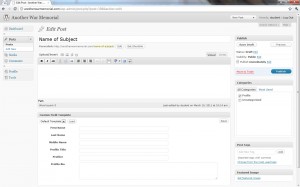
To create your profile, click the “Posts” link on the left, and click “Add New”. You will be brought to a blank post page. Type the name of your subject as the title of the post. In the “Categories” box on the right, check “Profile”.
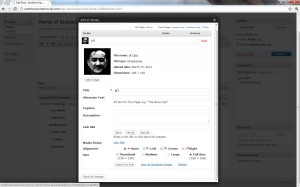
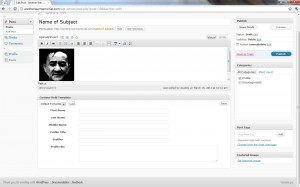
Insert the portrait that you created earlier by clicking the first icon to the right of “Upload/Insert”. This will bring you to the “Add an Image” page. Upload the picture from your computer, and hit the “Insert into Post” button at the bottom. Make sure that the “Link URL” field is blank!
If you followed this tutorial exactly, this is what you should see on your screen.
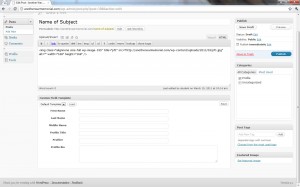
Next, click the “HTML” button on the top right corner of the editing box. This is what you will see. Make sure that you see a height and width of 168 pixels as seen in the screenshot! Any other dimension for your profile picture will distort the homepage!
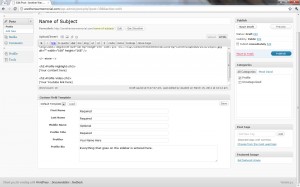
Add the following lines in this box, replacing the text in parentheses with your own content. For Youtube videos, you really just need to copy and paste the Youtube link– WordPress will automatically embed it for you! (Note: this only works if your Youtube video is “Public”. If it is “Unlisted”, WordPress cannot automatically embed the video!)
<!--more-->
<h3>Profile Highlight</h3>
(Your content here)
<h3>Profile Video</h3>
(Your Youtube link here)
Note: Make sure to include the <!–more–> tag! Otherwise all your content will be on the homepage!
Finally, fill out the Custom Field Template below the main editing box. Don’t forget to hit “Save” when done!
Publish your profile when everything is set!
Download the [pdf] for this tutorial.

